Bit uses Ripple CI as its default CI. Ripple is specifically designed for component-driven software, and as such is able to provide a highly efficient and optimized CI experience. It offers features like:
- Parallelized component builds
- Efficient builds that include only affected components
- Faster feedback loops with incremental component builds
- Automatic propagation of dependent component builds (including components not maintained by your workspace)
- Works out of the box without any additional configuration
Ripple doesn't require additional configuration. It uses each component's build pipeline, and executes it optimally in the cloud.
To build your component using Ripple, snap them, and export them to their scope.
Exported components are automatically built by Ripple in the cloud.
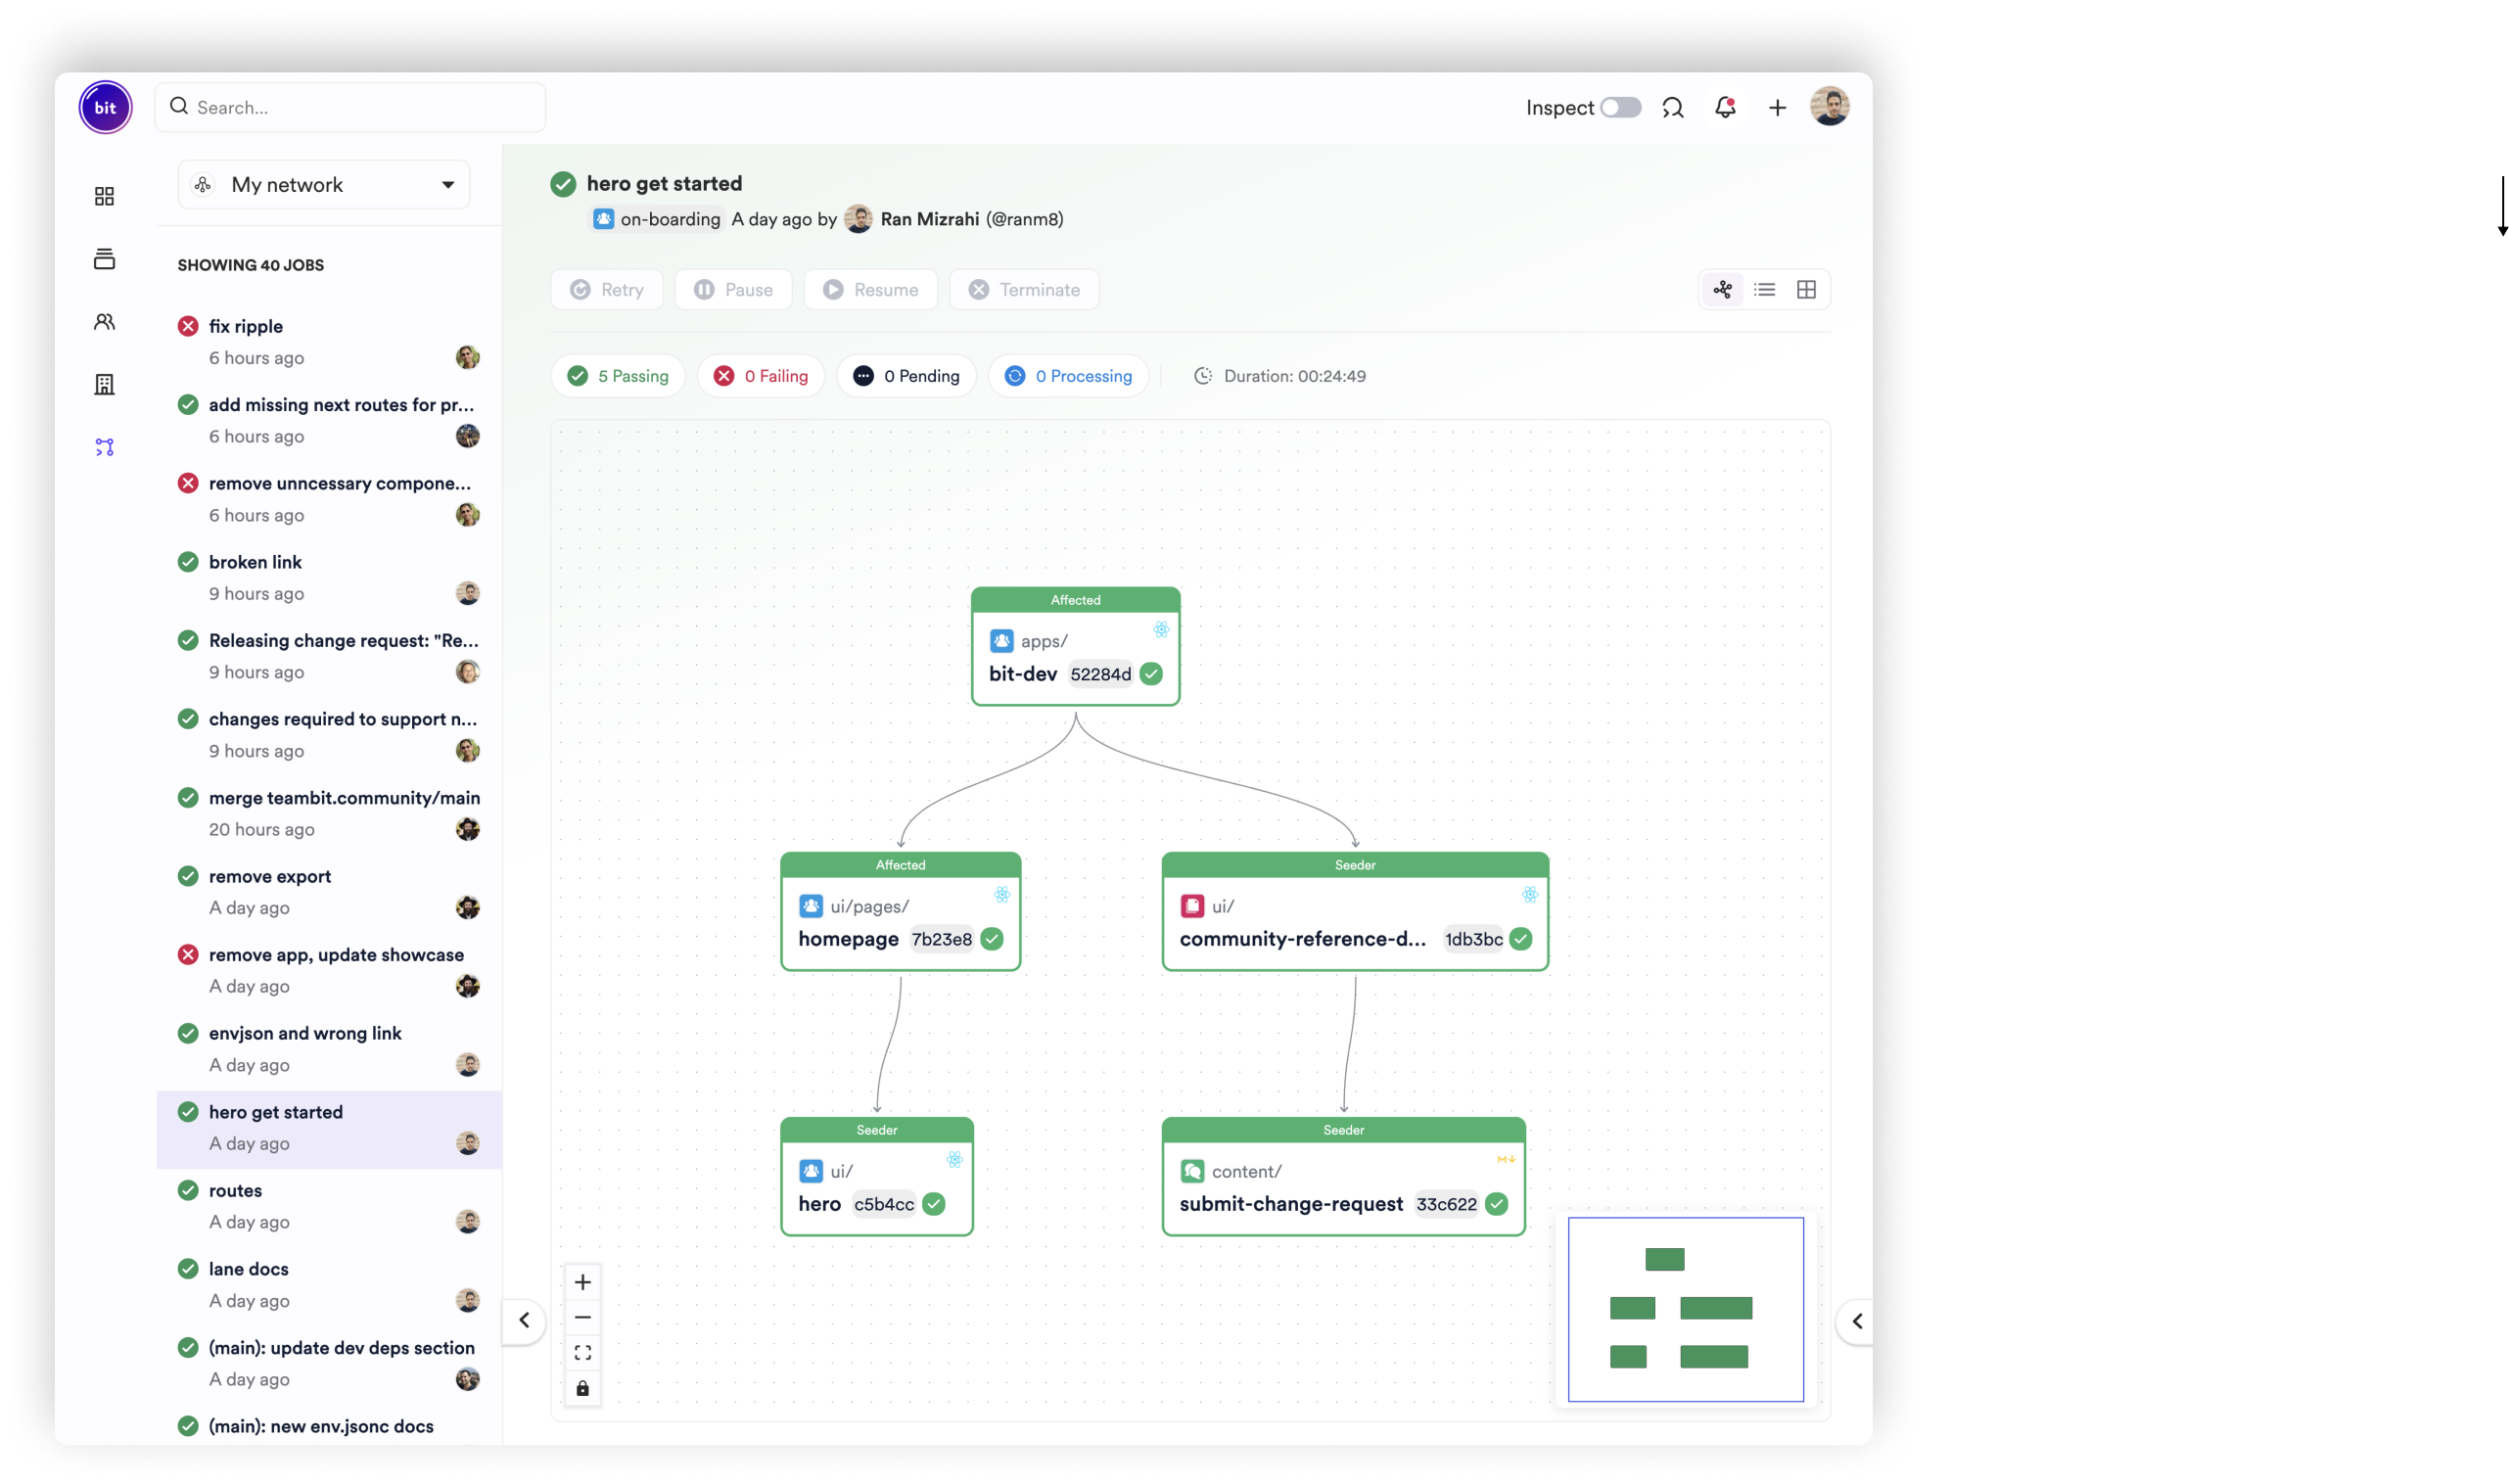
Head over to Ripple CI to see the build status of your components.
Using Ripple, you can control propagating when tagging your components, to ensure the update of your scope' components.
After exporting, your build will start and Ripple would update components your affected scopes. In case of components from multiple different owners, the responsible owner for the Ripple CI job will be elected by the majority of components exported.
One of the advantages of building software from discrete components is the efficiency it brings to the troubleshooting and CI process. Since each component is isolated, you can quickly identify and correct issues in a failed build at the level of the specific component responsible for the failure.
Once the issue is resolved locally in your workspace, you can snap and export again:
Now that this issue is resolved, Ripple can simply pick up from that component in the job's dependency graph, eliminating the need to restart the entire CI job from scratch.
To test your component's build locally, run the following:
To snap (or 'tag') components and run their build locally, use the --build option:
To opt out of Ripple CI, and permanently run your builds locally, run the following command:
Alternatively, set the following env var:
As mentioned earlier, a component's build pipeline is determined by the component itself (most often, indirectly, via its env).
An app (component) deployment task, is no exception. To deploy a component, define it as an app. Depending on the app type, it might offer a default deployment task or require you to define one yourself.
For example, the hello-world-app component is defined as a React 18 app. It uses Netlify as its deployment task.
/** @filename: hello-world-app.react-18-app.cjs */ const { Netlify } = require('@teambit/cloud-providers.deployers.netlify'); /** @type {import("@teambit/cloud-providers.deployers.netlify").NetlifyOptions} */ const netlify = { accessToken: process.env.NETLIFY_AUTH_TOKEN, productionSiteName: 'hello-world-app', team: 'my-netlify-team', }; /** @type {import("@teambit/react.apps.react-app-types").ReactAppOptions} */ const HelloWorldApp = { name: 'hello-world-app', entry: [require.resolve('./hello-world-app.app-root')], deploy: Netlify.deploy(netlify), }; module.exports.default = HelloWorldApp;
Review your component to see if it has a deployment task:
For example, since the hello-world-app component is an app, it has an additional build task, the deployment task, in its snap and tag pipelines:
teambit.harmony/application:deploy_application
Tag Pipeline Tasks:
teambit.harmony/application:deploy_application
To set up your CI secrets, head over to your organization page (bit.cloud/YOUR_BIT_ORG), and select -> Ripple CI.
Add your secret variable to your organization to make them available for Ripple CI. For example, to set up a secret for Netlify, as shown in the deployment example above, add a secret variable named NETLIFY_AUTH_TOKEN and set it with your Netlify access token.
Bit is not limited to Ripple CI. You can use any CI platform you prefer, including GitHub Actions, Gitlab pipelines, Jenkins, and more.
To learn more see the Automating component release documentation.