What's New in Bit? November 13, 2023

Weekly release notes v1.3.21
Run
bvm upgradeto get the latest stable version of Bit. See Install experimental releases to try out the latest experimental features.
New and improved
Import components with a common env
Use the --filter-envs flag to import components that use a specific environment.
For example, to import all components that use the my-org.my-scope/my-env env, from the my-org.my-scope scope run:
This option is especially useful when followed by bit envs update to update components with a newer version of their env.
Ignore files from being tracked by Bit, on a component level
Files and directories listed in your repository's .gitignore file are also ignored by Bit. For example, if your .gitignore file contains **/.DS_Store, then .DS_Store files located in any component directory will not be tracked as files of the corresponding component (i.e, their snaps will not include them).
However, Bit components should not be coupled to their repository to make them portable and maintainable anywhere.
To allow for a component-level ignore list we've added support for .bitignore files.
This file is similar to .gitignore and allows you to specify files and directories to ignore from being tracked by Bit, on a component level.
Moreover, since this file is nested inside the component directory, it will be tracked as part of the component which means it will affect the component wherever it is maintained.
#7967For a list of Bit's default ignore patterns, see here.
Detect dependencies required by require.resolve calls
Bit parses out import and require statements to detect dependencies required by components.
It now also parses out require.resolve calls to detect dependencies.
This is especially useful when configuring development tools such as linters, formatters, and testers, as they often require the path to the extensions or plugins they use.
For example, the following ESLint config file extends another config, available in a different component. This dependency is now detected by Bit and will added to dependency graph of the env using that config
module.exports = {
  extends: [require.resolve('@teambit/react.react-env/config/eslintrc')],
  rules: {},
};Allow for components with same name in a single workspace (experimental)
Up until now maintaining components with the same name (but different scopes) in a single workspace was not possible.
For example: teambit.wiki/blocks/header and teambit.cloud/blocks/header could not be maintained in the same workspace.
To allow for this, we've added a new configuration option: allowSameName.
When enabled, components with the same name (but different scopes) can be maintained in the same workspace.
To enable this feature, run the following in your workspace:
Refer to components with the same name using their full ID to avoid ambiguity.
#7897 #8000 #8070 #8065Ripple CI Job status auto pop-up
With Bit 1.0.0 released, snapped/tagged components are built on Ripple CI by default, when exported to bit.cloud. CI jobs in Ripple will now automatically open in the browser when exporting the versioned components. This will allow you to see the CI status of your components in Ripple, and easily navigate to the CI job to see the full CI status and logs.
#7897Read more about internal changes, bug fixes, and performance improvements
Read the release log here
Demos, tools and docs
VSCode Plugin

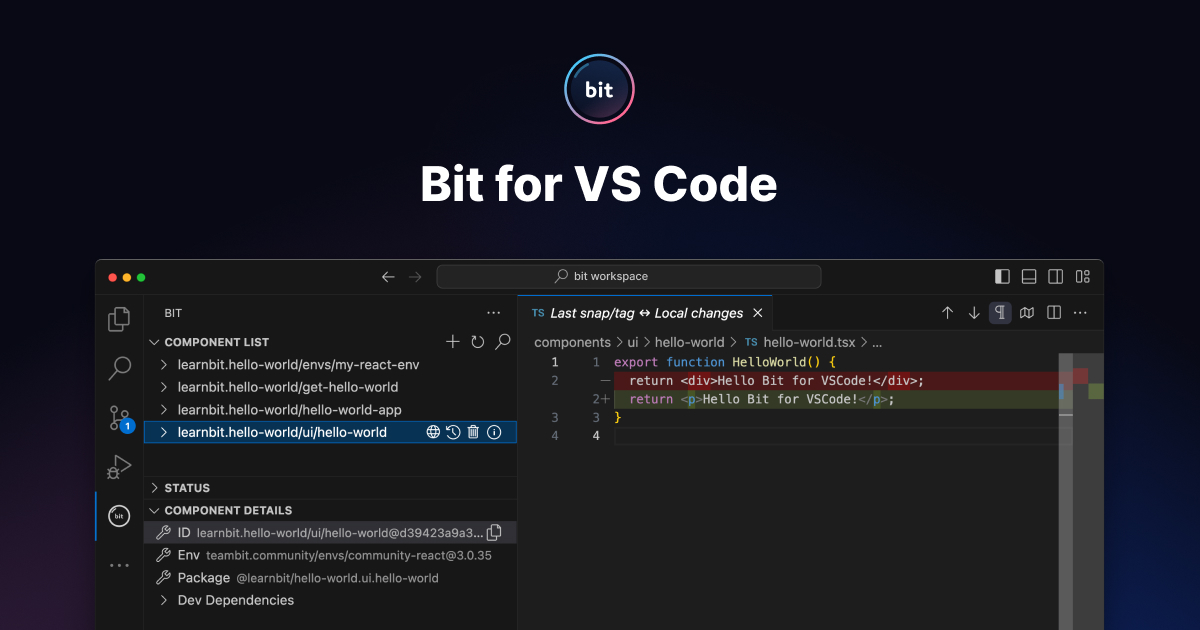
The Bit Visual Studio Code extension enhances component development with productivity features and seamless VS Code Source Control integration. Quick Actions enable workspace creation, default scope setting, and direct component and lane imports. Component Details allow viewing properties, status, and file history, while Source Control Integration offers advanced version control.
New components can be created with Bit templates and debugged with a generated VS Code configuration. Other features include multi-root support and faster command execution via Bit Server. The extension requires Bit > 1.0.7 and is still in beta. Contributions are welcome, and the extension communicates with Bit through an HTTP server, managing file changes and repo updates efficiently.
The bit-vscode-extension component was developed using the VSCode-env, this extension also demonstrates the ease of creating your own VSCode extensions using Bit, a topic we'll explore in a future post!
New documentation pages
- Visit the new Thinking Bit page to learn about using Bit as a monorepo solution, a poly-repo solution, or a fully distributed solution.
- Dive into our step-by-step guides to learn how to create a custom compiler, tester, linter, and formatter.
- Official Bit tool documentation has been updated. Components like eslint-linter now feature integrated documentation on their component pages. For example, eslint-docs are now found directly within the eslint-linter component page (by using the same MDX doc component as a dependency for the component, instead of on the doc site).
NextJS Support

Full support for NextJS has been added. You can now use Bit to build and share NextJs components - pages and app components - and use them in your NextJS projects. Follow the NextJS docs or the NextJS quickstart to get started.
Getting Started:
List all available templates:
To create a new NextJS application run the following command:
To make that application loadable by your workspace run the following command:
To run the application run the following command:
Explore the NextJS docs or the NextJS quickstart for detailed instructions.
Bit Components with Storybook: A Quick Guide

Get started with our new Storybook integration to document your Bit components with Storybook.
Initialize & Run Your Storybook App
Create and Add Stories
Generate a story file in the stories directory. Import the Bit component and set up your story.
Build & Deploy
Configure deployment in *.storybook.cjs. Version with Ripple CI and export.
Customize Storybook
Adjust settings in .storybook/main.ts for addons and frameworks.
